How to Extract Data from BKF Files in Windows 10, 11 & All Other Versions? Using Two Solution

As we all know how vital file backup is in today’s time because even a slight corruption can destroy all your data. If you have ever made a backup of your file in the Windows XP system, then it will be in a file named .bkf extension. But if seen, in today’s time no one is using Windows XP and you want to extract data from BKF files, then without Windows XP the data of BKF files cannot be extracted. Because Windows XP comes with an inbuilt application called NTBackup Utility, with the help of which any user can easily back up and restore their data. But now this inbuilt utility does not come in any new Windows version due to which if you have BKF files you cannot view its data and use it again.
If you are thinking something like this, then you are thinking absolutely wrong, if you have come to the TaskMangerFix site, then you will not go back without taking a solution. Today, in this article, we will tell you not one method, we will tell you two such solutions, with the help of which you will be able to extract data from BKF files very easily.
Best Way to Extract Data from BKF Files
We will explain in this article to recover data from Windows Backup BKF files, you will learn the manual method and the process to accomplish this task using automated software. In the first method, you will learn how to complete this process using the ntbackup utility. In the second method, you will complete the process by using the automated software recommended by the expert.
Method 1: Recover BKF File Data Using NtBackup Utility in Windows 10 & 11
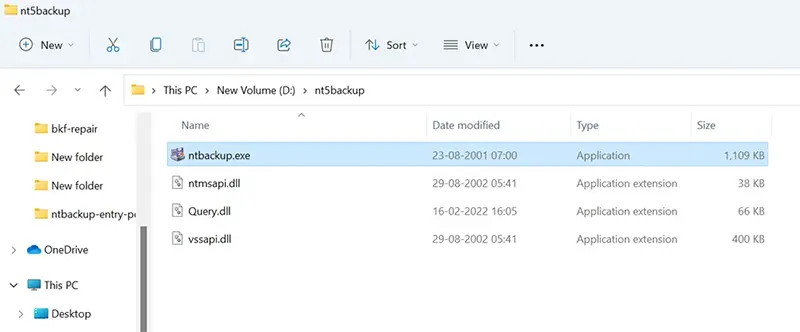
If the user is thinking of using the ntbackup restore utility to extract data from BKF files, then let us tell you that to use it, you must first download this utility from the Internet in your Windows system. After which you will have 3 files downloaded, 2 .dll files, and one ntbackup.exe file. Let us now know how to use this utility.
- Download the nt5backup.cab tool first, then extract the system’s files using it.
- Double-click the ntbackup.exe file after extracting the file.
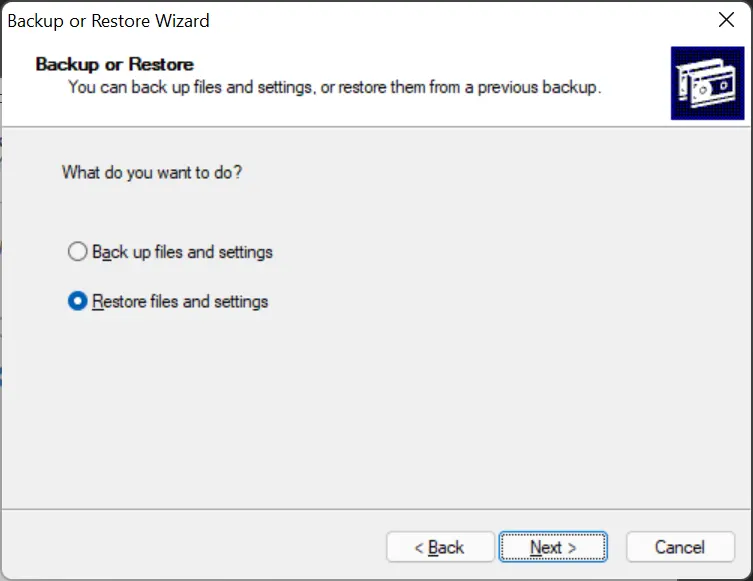
- The backup and restore wizard screen will then automatically launch; click the next button after that.

- After choosing Restore files and configuring the choice, click on the Next button.
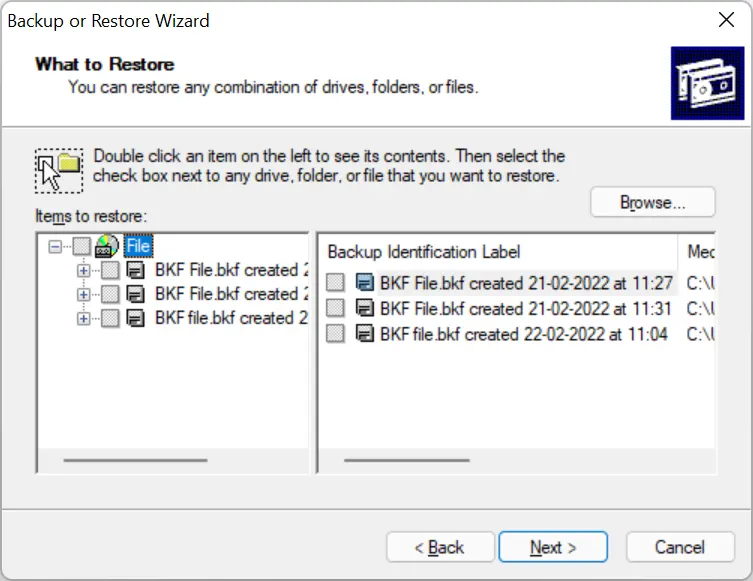
- After selecting your BKF file from the new pop-up screen that appears after clicking the browse button, click the OK button.
- Your files will be on the right when you return to the previous page. If you want to deselect any of them, you may do so by choosing it and then clicking the next button.
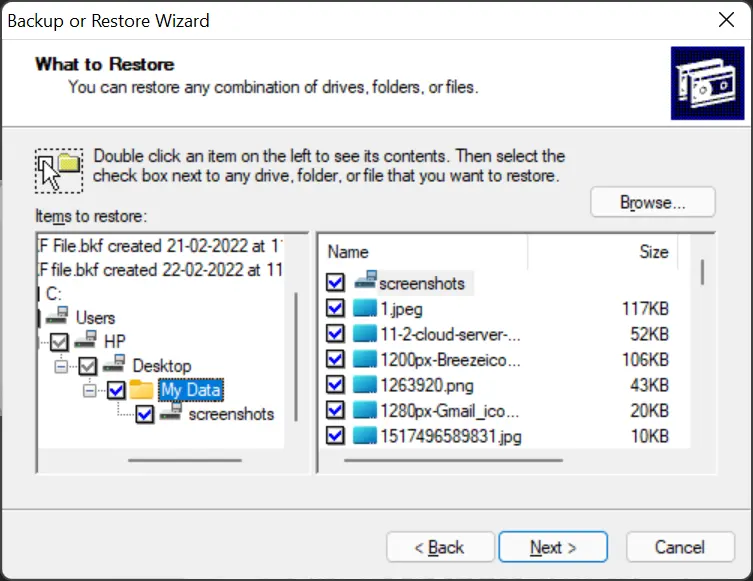
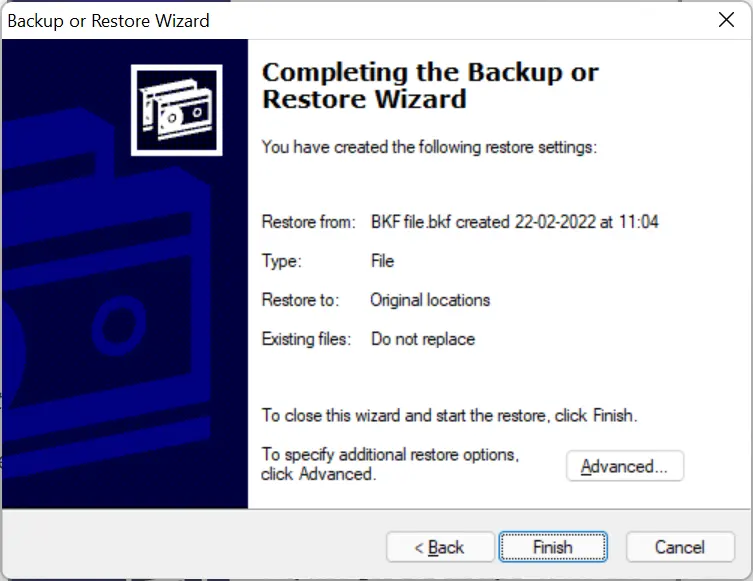
- Press the Finish button to finalize the process, then wait a few minutes until the restoration process is completed.
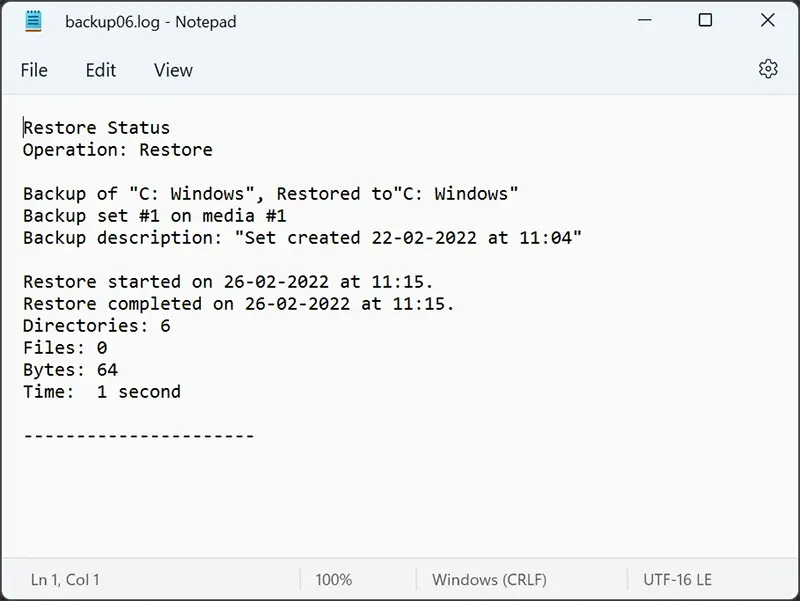
- After the restoration is complete, you may click the Report option to view a report.

- You’ve at last arrived at the section where you can see the complete report.
Limitations of the Manual Approach
- Extraction of data from Windows backup files is a time-consuming and tedious process. A massive number of steps are necessary to finish the operation.
- The NTBackup application is only available for Windows XP versions, not higher than Windows XP.
- Data extraction from BKF files is a difficult procedure since it includes several stages. A little mistake might cause output corruption or data loss.
Method 2: Extract Data from BKF Files Using Automatic Software
One of the best software in the market to recover data from BKF files is Taskmanagerfix BKF Recovery Tool. With the help of this software, you can restore not only the backup file of Windows XP but also the data of the image backup file created in Windows 10. A deep scanning option is also available in this software, if there is corruption in your file, then that too gets fixed. In this software, before extracting data from BKF files, you can also preview it.
By the way, there are many inbuilt features in this software which you can find out only after using the software. But in this, if you want to export your data in any other format, then you can do that too. And no technical knowledge is required to use this software.
Quick Steps for Recovering Data from BKF Files
- Download the Software and launch it.
- Click Scan option & load .bkf files.
- Choose the Scanning Modes & Click Scan button.
- Now, Preview the BKF file’s data.
- Finally, Click the Extract button.
Why User Select The Automatic Software?
The software includes several functions for the user, allowing both expert and non-technical users to effortlessly repair errors and recover data from backup files. Here are some of the highlights:
- Fixes and restores NTBackup BKF files and Backup Exec files.
- There are no file size restrictions for repairing and restoring XP BKF files in Windows 7 and subsequent versions.
- Displays a glimpse of all recovered corrupt BKF file data and allows you to search for a specific file.
- Compatible with all Windows operating system versions, including Windows 10, 8, 7, XP, and others.
- Extract data from BKF files, including emails, photos, documents, audio, video, and more.
Follow These Step-by-Step Process for Recovering Data from BKF File
- Download this software clicking by the download button and then launch the software.

- Click the Scan File option in the menu bar and then select the .bkf file

- Thereafter, select any scan mode according to bkf file corruption and then press the Scan button

- Once the scanning is complete then you can preview your data on the software panel

- Now, click on the Extract button in the menu bar and then choose the location of the resulting file. If you want to save the resulting data to the original location then select the Extract at Original Location option. If you want to save the resulting data to a different location on your Windows system, select the Extract at Selected Location option. Finally, click the Extract button for starting the extraction process.

- Once the process is completed you can preview your data on that selected location on the Windows system.

Conclusion
In this article, you have come to know how the extract data from BKF files. To complete this process, we have given a full explanation of two methods in this blog post, you can select any one of them. If you select the manual method then first you have to download the ntbackup.cab file from the internet, if there is any error in that file then your data loss can also happen. That’s why experts also always recommend that you should use trusted automatic software only.